lesson-3_Setup Scaffold-ETH 2
Setup Scaffold-ETH 2
🖥️ Setup Subgraph Package
First, we will start out with a special build of Scaffold-ETH 2 written by Simon from Edge and Node… Thanks Simon! 🫡
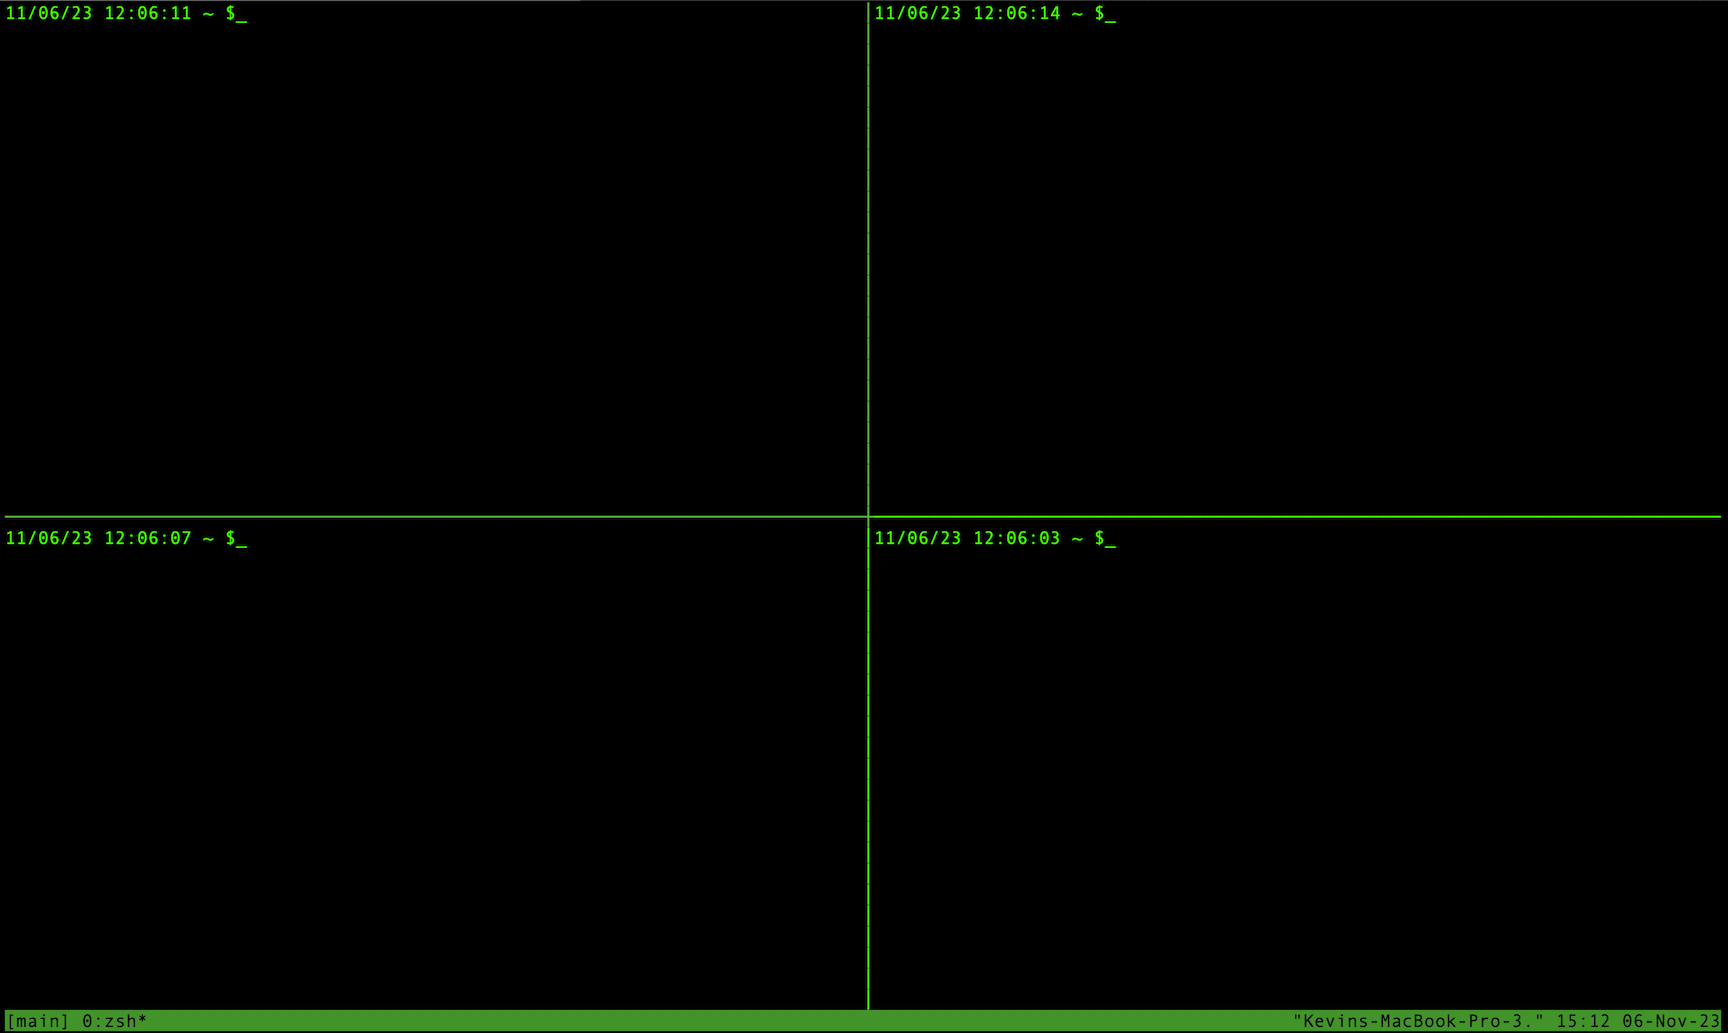
We will need a total of four different Windows to setup Scaffold-ETH 2 and The Graph.
git clone -b subgraph-package \
  https://github.com/scaffold-eth/scaffold-eth-2.git \
  scaffold-eth-2-subgraph-package
Once you have this checked out on your machine, navigate into the directory and install all of the dependencies using yarn.
cd scaffold-eth-2-subgraph-package && \
  yarn install

Next, we will want to start up our local blockchain so that we can eventually deploy and test ourスマートコントラクト. Scaffold-ETH 2 comes with Hardhat by default. To spin up the chain just type the following yarn command…
yarn chain
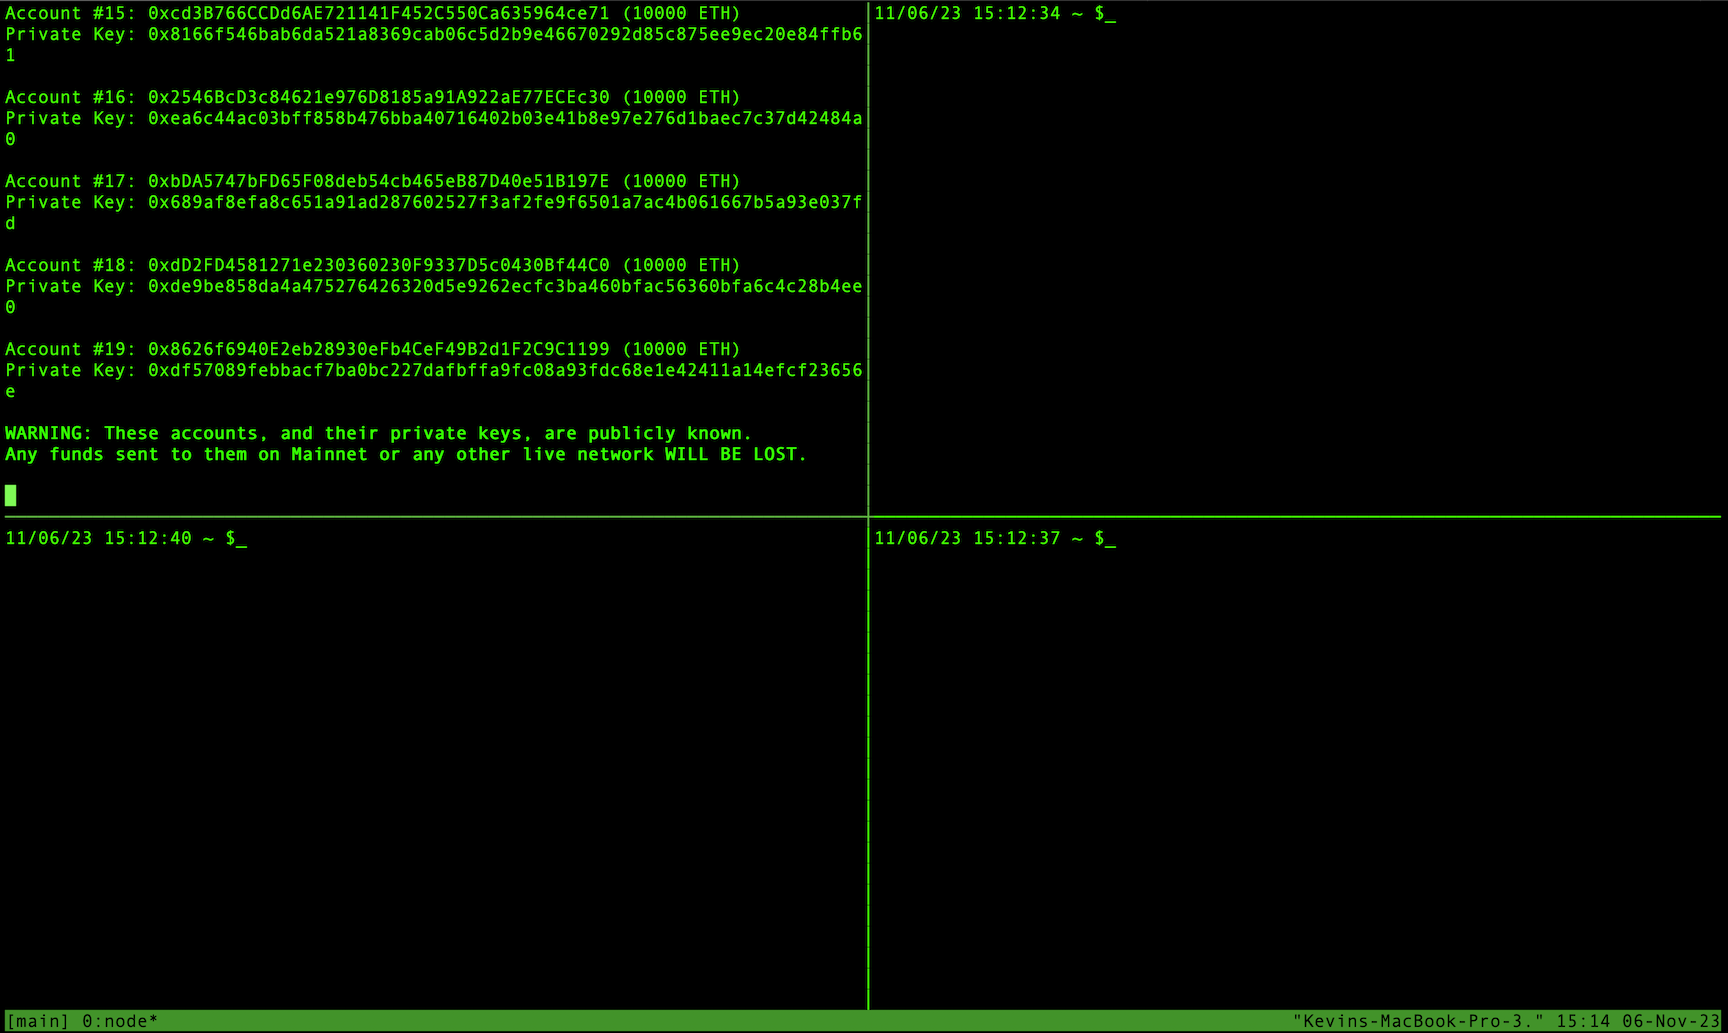
You will keep this window up and available so that you can see any output from hardhat console. 🖥️
Next we are going to spin up our frontend application. Scaffold-ETH 2 comes with NextJS by default and also can be started with a simple yarn command. You will need to open up a new command line and type the following…
yarn start
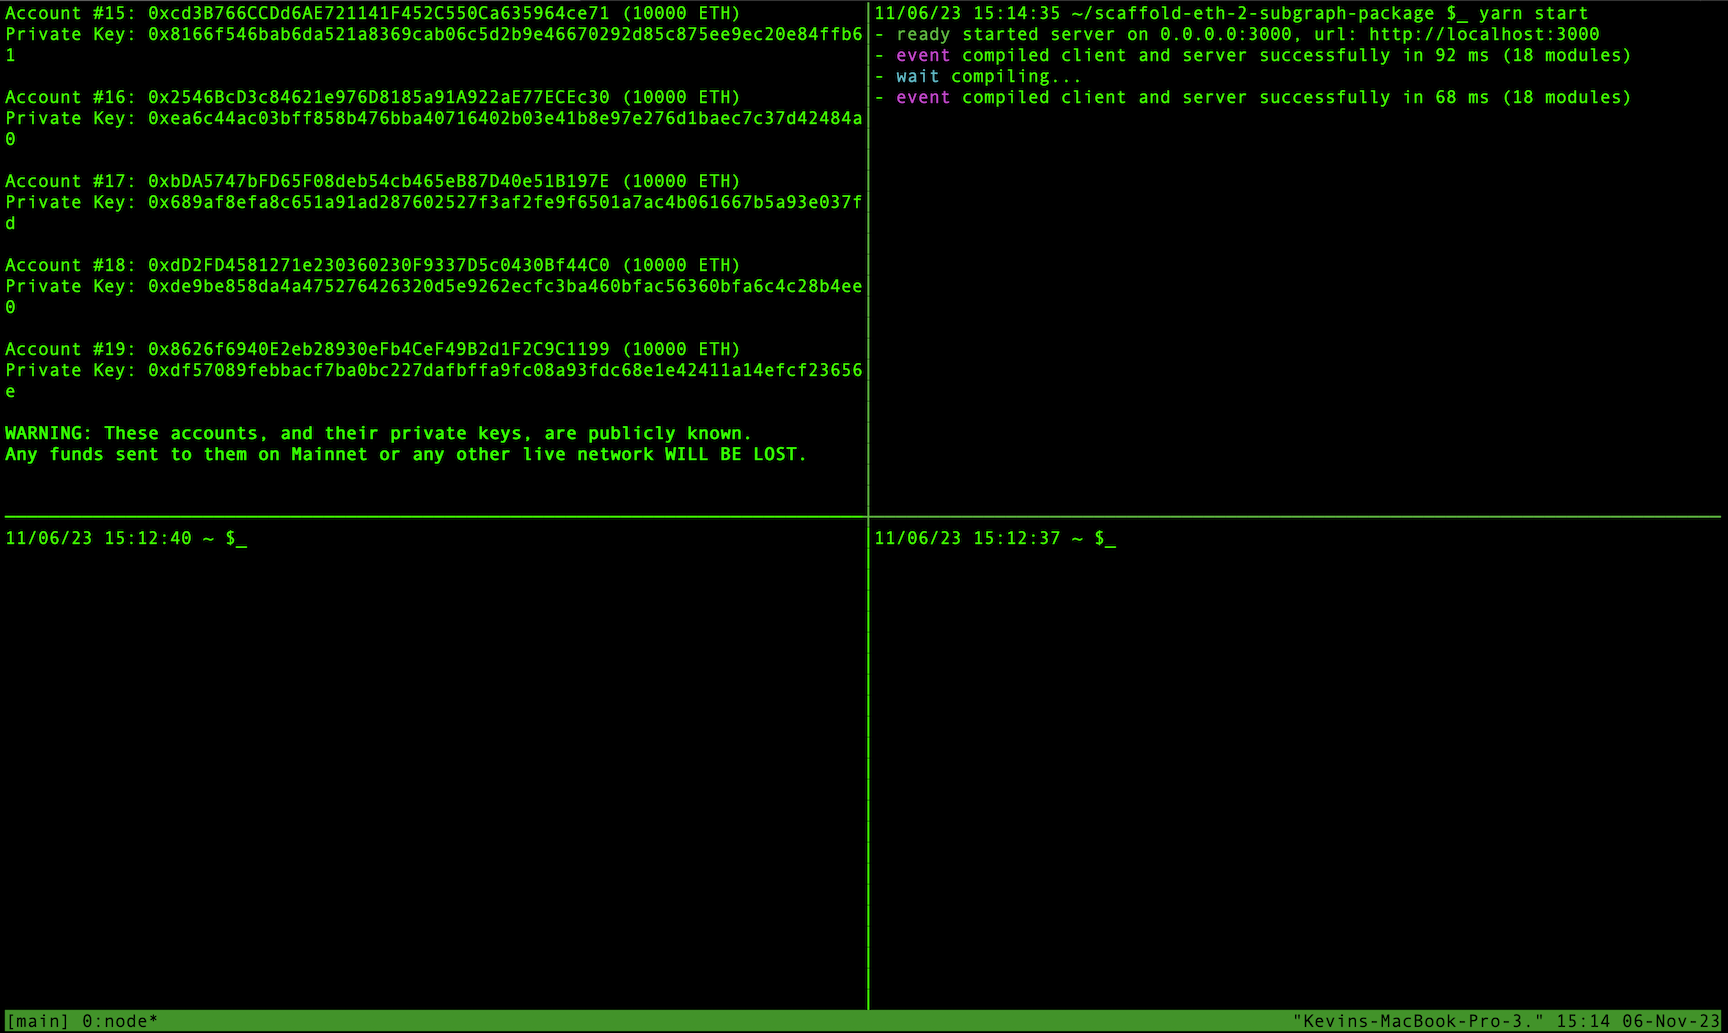
You will also want to keep this window up at all times so that you can debug any code changes you make to NextJS, debug performance or just check that the server is running properly.
Next, you will want to open up a third window where you can deploy your smart contract, along with some other useful commands found in Scaffold-ETH. To do a deploy you can simply run the following…
yarn deploy
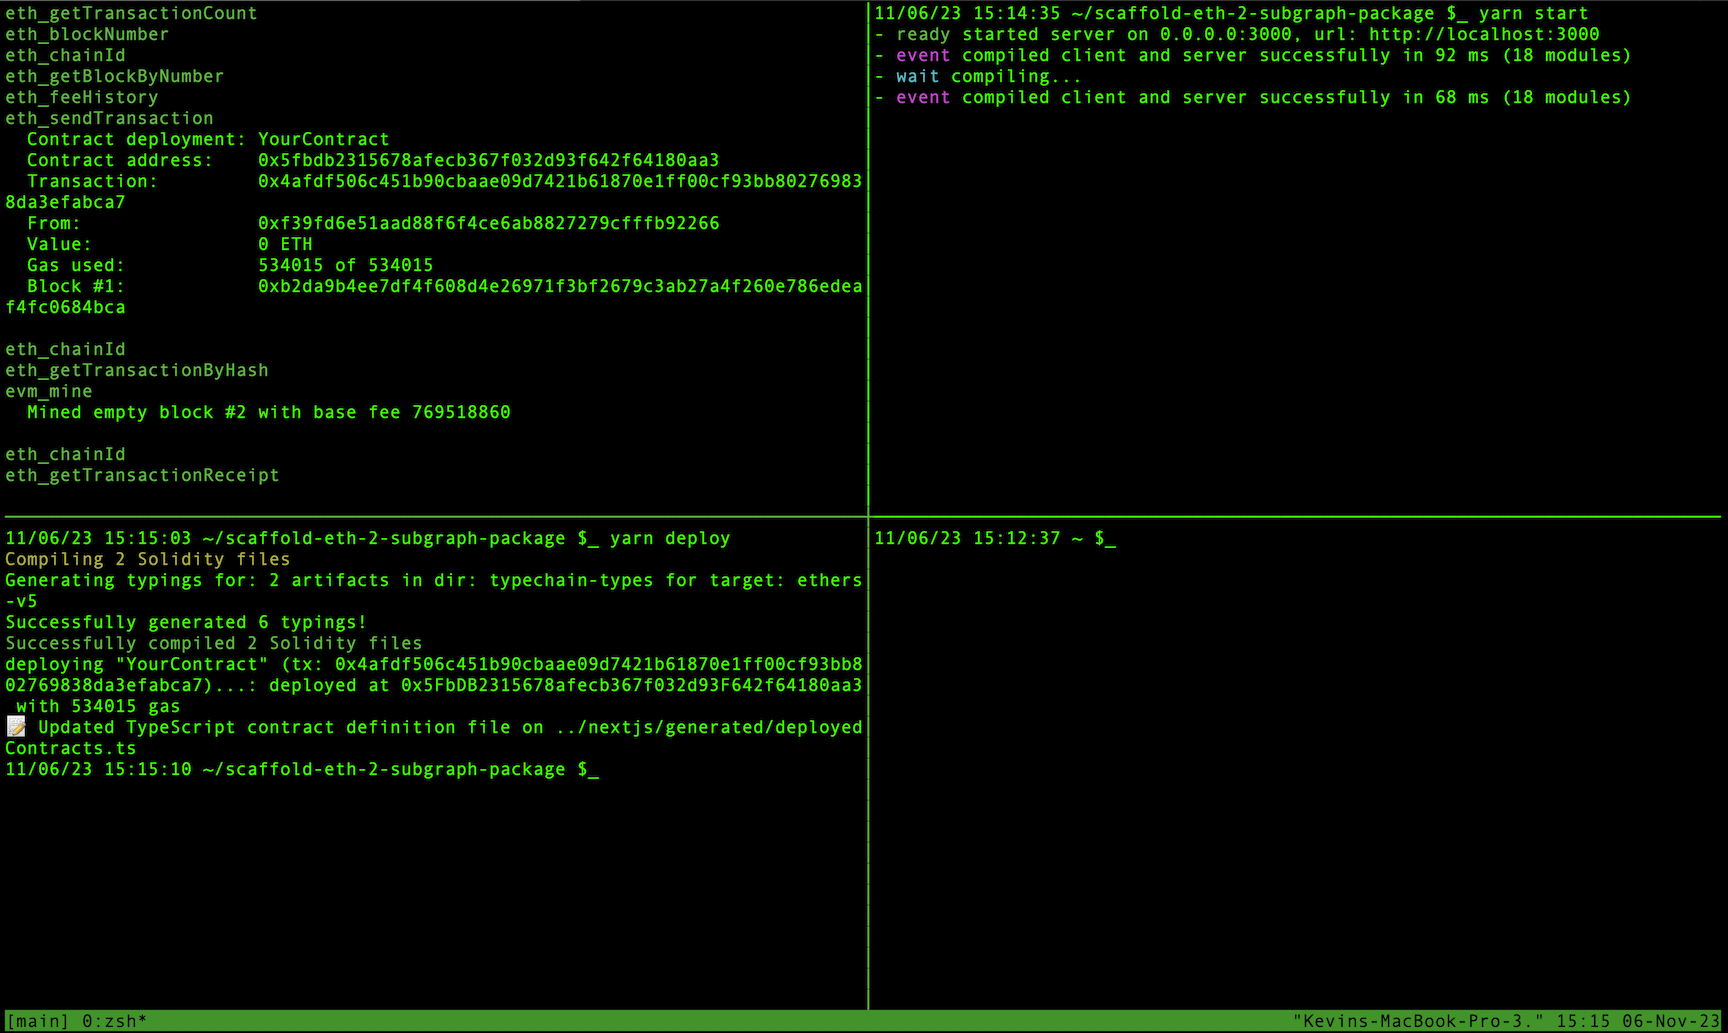
You should get a tx along with an address and amount of gas spent on the deploy. ⛽
If you navigate to http://localhost:3000 you should see the NextJS application. Explore the menus and features of Scaffold-ETH 2! Someone call in an emergency, cause hot damn that is fire! 🔥
You can test by sending an update to the setGreeting function. In order to do this you will need to get some gas by clicking cash icon in the top right hand corner next to the burner wallet address. This will send you 1 ETH from the faucet.
Then you can simply navigate to "Debug Contracts", click the string field under setGreeting and type something fun and then click "SEND"
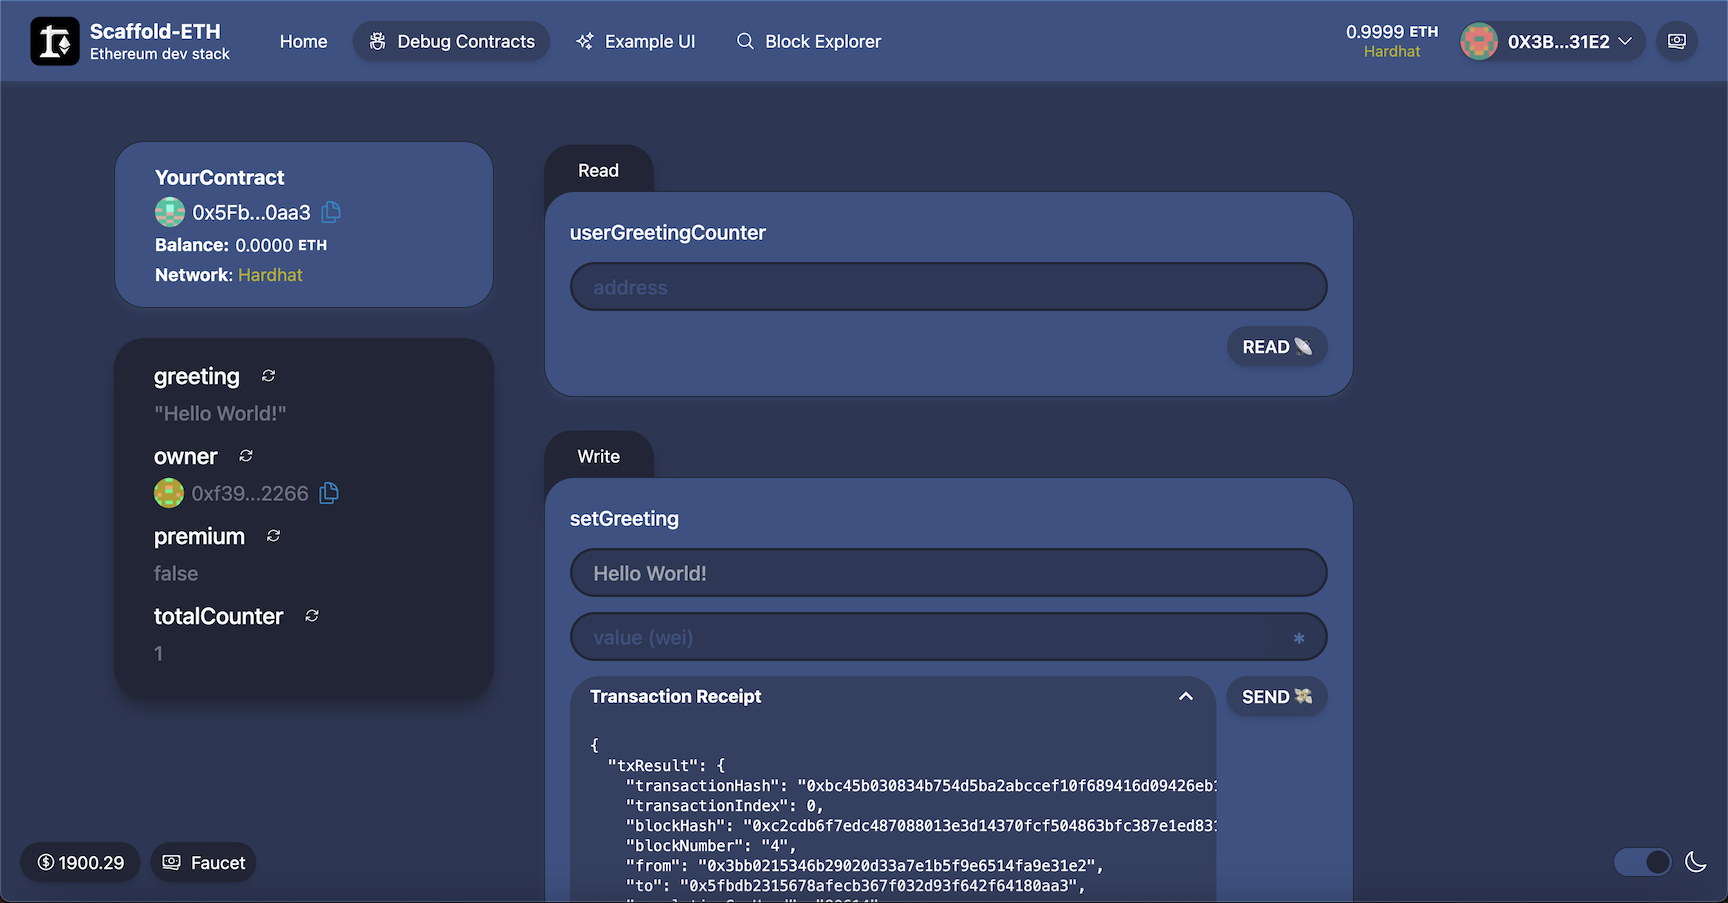
After this is complete you should also get a transaction receipt that you can expand below to verify it was successful.